Calendar Category
From LongJump Support Wiki
Revision as of 23:42, 19 July 2011 by imported>Aeric
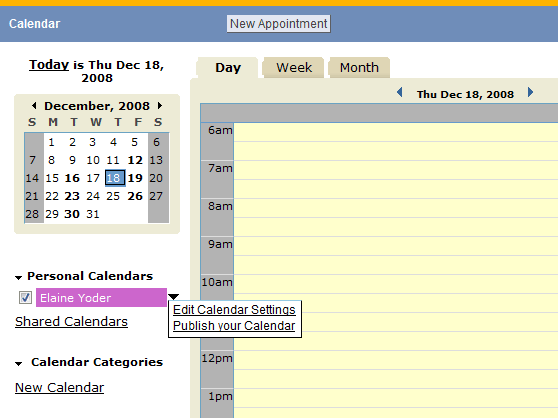
The default calendar is named My Calendar, which is associated with the User that is logged in.
- Additional calendars can be created
- These calendars are displayed in the Calendar Categories section on the Calendar page
- A maximum of 10 additional calendar categories can be created
- A calendar can be published to the web when the Allow Web Publishing option is enabled
- In Reports based on Tasks and Appointments, the Calendar Category is available as a field
Adding a Calendar Category
To add a Calendar Category:
- Open a Calendar
- In the Calendar Categories section, click the New Calendar link
- In the Calendar Information section, complete the following information:
- Calendar Name
- Name of the calendar
- Allow Web Publishing
- When checked, this calendar can be made public and formatted for publishing to a web page
- In the Visibility Control and Sharing section, complete the following information:
- Select a Share With option for which you'll specify permissions:
- Everyone
- Share with all Users, Teams and Roles
- User
- Share with select Users
- Team
- Share with select Teams
- Role
- Share with select Roles
- For each Share With candidate, specify the Access Rights:
- View Only
- View reserved time slots and meeting details
- View and Add
- View reserved time slots and meeting details. Add and modify Calendar items.
- Administrator
- View, add, and modify Calendar items. Modify Calendar settings.
- Click the [Add] button to create additional control and sharing permissions using the steps above.
- Click [Save]
- Select a Share With option for which you'll specify permissions:
